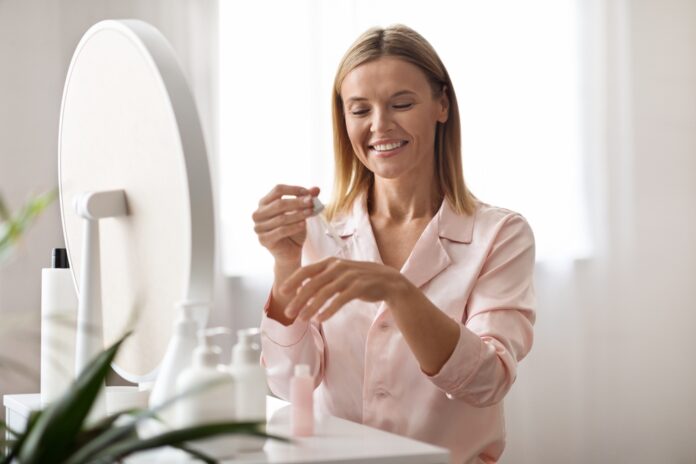
The quest for youthful, radiant skin doesn’t have to lead you down the aisles of expensive cosmetics filled with harsh chemicals. Embracing natural ingredients can not only nourish your skin but also combat signs of aging effectively. By creating your own natural anti-aging serum at home, you control what goes onto your skin, ensuring it’s free from synthetic additives and perfectly tailored to your skin’s needs.
Many commercial skincare products aim to strip away oil, but our skin’s natural oil is its first line of defense against dryness and environmental stressors. Rather than fighting oil with harsh drying agents, we can embrace natural moisturizers to achieve a healthy skin balance. Natural oils replenish and nourish the skin, promoting elasticity and reducing the appearance of fine lines.
Benefits of Making Your Own Serum
Creating your own serum allows you to customize it according to your specific skin type and concerns. Whether you have dry, oily, or combination skin, selecting the right carrier oils and essential oils can transform your skincare routine. Plus, you’ll avoid unwanted ingredients found in many commercial products.
Choosing Your Carrier Oils
Carrier oils are the foundation of your serum, delivering hydration and nutrients deep into the skin. Here are some excellent options:
- Rosehip Seed Oil: Rich in vitamins A and C, it boosts collagen production and helps reduce scars and fine lines.
- Argan Oil: Known for its anti-inflammatory properties and ability to moisturize without clogging pores.
- Jojoba Oil: Closely mimics the skin’s natural sebum, making it suitable for all skin types and excellent for balancing oil production.
- Pomegranate Seed Oil: Contains antioxidants that protect the skin from environmental damage.
Essential Oils for Anti-Aging
Adding essential oils enhances the serum with concentrated plant extracts known for their skin benefits. Consider the following:
- Frankincense Oil: Renowned for its rejuvenating properties, reducing wrinkles and improving skin elasticity.
- Lavender Oil: Soothes the skin and promotes healing, beneficial for all skin types.
- Geranium Oil: Helps tighten skin, reduce the appearance of fine lines, and fight acne.
- Carrot Seed Oil: Offers antioxidant protection and rejuvenates skin cells.
Vitamin E Oil
Including vitamin E oil not only nourishes the skin but also acts as a natural preservative, extending the shelf life of your serum.
DIY Natural Anti-Aging Serum Recipe
Ingredients:
- 1 tablespoon rosehip seed oil
- 1 tablespoon argan oil
- 1 tablespoon jojoba oil
- 10 drops frankincense essential oil
- 10 drops lavender essential oil
- 5 drops geranium essential oil
- 5 drops vitamin E oil
Instructions:
- In a small dark glass bottle with a dropper top, combine the rosehip seed oil, argan oil, and jojoba oil.
- Add the essential oils and vitamin E oil to the carrier oil blend.
- Close the bottle tightly and shake gently to mix all ingredients thoroughly.
- Store the serum in a cool, dark place to preserve its potency.
Customizing Your Serum
For Dry Skin:
- Add a few drops of myrrh essential oil for added hydration.
For Oily Skin:
For Sensitive Skin:
- Use calming oils like lavender and chamomile, and avoid potential irritants.
How to Use Your Anti-Aging Serum
- Cleanse your face thoroughly with a gentle, natural cleanser.
- Tone your skin using a natural toner to balance pH levels (optional).
- Place a few drops of the serum onto your fingertips.
- Gently massage into your face and neck using upward, circular motions.
- Use the serum twice daily, morning and night, for best results.
The Importance of High-Quality Oils
It’s essential to use high-quality, cold-pressed, or expeller-pressed oils for your serum. Oils extracted with solvents may contain residues that can harm your skin. Always opt for organic and minimally processed oils to ensure you’re feeding your skin the best nutrients possible.
You can find high-quality carrier and essential oils here.
Tips for Storing Your Serum
- Use a dark glass bottle to protect the oils from light exposure.
- Keep it in a cool, dry place away from direct sunlight.
- Discard the serum if you notice any change in smell or consistency.
By crafting your own natural anti-aging serum, you not only save money but also nourish your skin with pure, potent ingredients. Embrace the simplicity of nature’s gifts and enjoy a radiant, youthful complexion.


